我们一生之中,要牢记和要忘记的东西一样多。其实人生最好的贵人,就是不断努力的自己!靠自己,最踏实!假期很短暂,快乐却无边,工作很苦闷,赚钱最重要,陶醉在假期的快乐中,奋斗在工作的战线中,苦中寻乐一点甜,快乐与你长相伴。
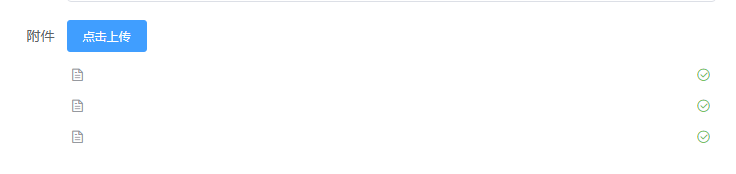
本文实例为大家分享了vue+elementUI图片上传的具体代码,供大家参考,具体内容如下
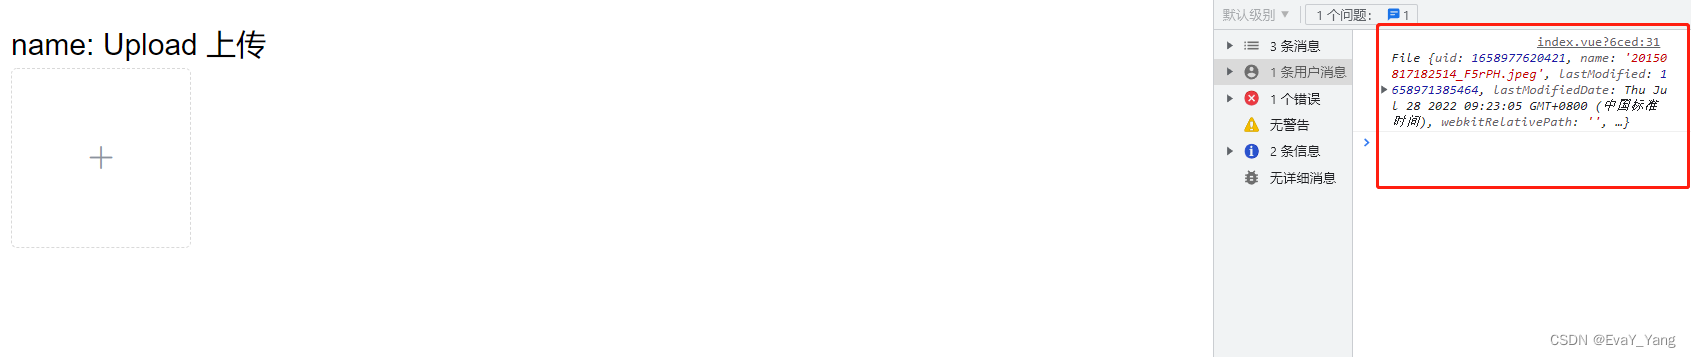
1、html
<el-form-item label="图片" prop="logo">
 <el-upload name="file" v-if="optype==0"
     :action="'/upload'"
     accept=".jpg, .png"
     list-type="picture-card"
     :file-list="fileLists"
     :on-preview="handlePictureCardPreview"
     :on-success="success"
     :on-remove="handleRemove">
   <i class="el-icon-plus"></i>
 </el-upload>
 <!--大图弹出框-->
 <el-dialog :visible.sync="imgDialogVisible" size="full" :modal="false" title="查看大图片">
 <img width="100%" :src="dialogImageUrl" alt="">
 </el-dialog>
</el-form-item>
2、定义
dialogImageUrl: '',
imgDialogVisible: false,
fileLists: [],
3、在需要使用的方法中给fileLists[]赋值
vm.fileLists = [];
if (row.logo != undefined && row.logo != "") {
 vm.fileLists.push({url:row.logo});
}
4、其他几个属性的方法
//删除图片
handleRemove(file, fileList) {
 this.form.logo=''
},
//查看大图
handlePictureCardPreview(file) {
 this.dialogImageUrl = file.url;
 this.imgDialogVisible = true;
},
//图片上传成功
success(response, file, fileList) {
 this.fileLists = [];
 this.fileLists = [file]
 this.form.logo = file.response.result;
},
5、图片上传的位置和路径是存在不同的表中。
到此这篇关于vue+elementUI如何实现图片上传功能就介绍到这了。人生,伟业的建立,不在能知,乃在能行。流年似水,如歌,承受委屈是一种胸怀,接受误解是一种心怀,这个世界上失去什么东西都不可怕,唯一可怕的是失去你的心,失去你的勇气,只要你坚韧不拔地奋斗,只要你看向未来,天边彩虹就永远属于你,生命的辉煌也一定永远属于你。更多相关vue+elementUI如何实现图片上传功能内容请查看相关栏目,小编编辑不易,再次感谢大家的支持!