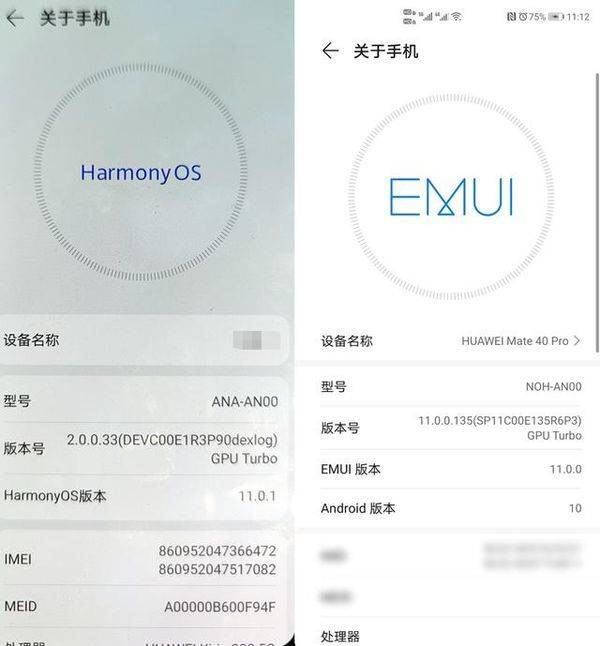
初识鸿蒙OS 2 0
华为的鸿蒙OS 2 0是目前唯一个有希望和安卓、IOS对抗的全新生态系统。9月10日,在东莞正式发布。华为喊出了“HarmonyOS 2
初识鸿蒙OS 2.0
华为的鸿蒙OS 2.0是目前唯一个有希望和安卓、IOS对抗的全新生态系统。9月10日,在东莞正式发布。华为喊出了“HarmonyOS 2.0 连接无限可能”的口号,将是未来十年很有竞争力的优秀操作系统。
自定义Component
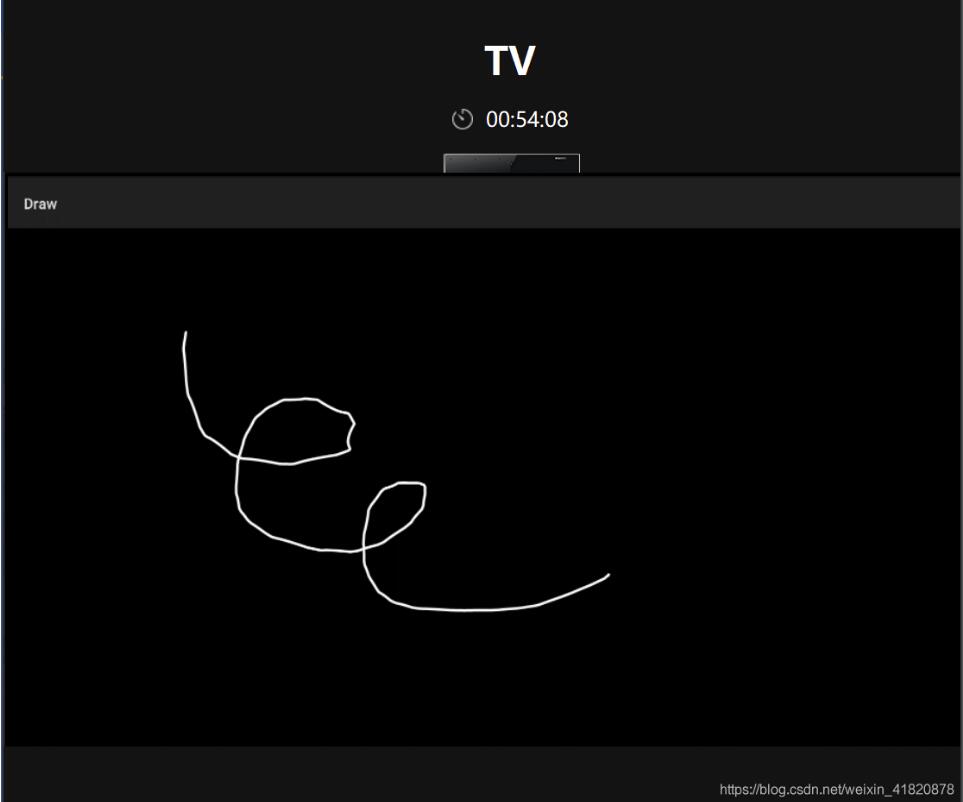
这里我编写一个简易的画板。
1.新建一个类DrawComponment 继承自Componment;
2.实现Component.TouchEventListener,用于对touch事件生成相应的path;
3.实现Component.DrawTask,用于把path画到屏幕上;
代码
DrawComponment
package com.quqx.draw;

import ohos.agp.components.Component;
import ohos.agp.render.Canvas;
import ohos.agp.render.Paint;
import ohos.agp.render.Path;
import ohos.agp.utils.Color;
import ohos.agp.utils.Point;
import ohos.app.Context;
import ohos.hiviewdfx.HiLog;
import ohos.hiviewdfx.HiLogLabel;
import ohos.media.image.PixelMap;
import ohos.multimodalinput.event.MmiPoint;
import ohos.multimodalinput.event.TouchEvent;

public class DrawComponment extends Component implements Component.DrawTask, Component.TouchEventListener {
  private static final String TAG = "DrawComponment";
  PixelMap mPixelMap;
  Canvas mCanvas;
  Path mPath = new Path();
  Paint mPaint;
  Point mPrePoint = new Point();
  Point mPreCtrlPoint = new Point();

  public DrawComponment(Context context) {
    super(context);
    //初始化paint
    mPaint = new Paint();
    mPaint.setColor(Color.WHITE);
    mPaint.setStrokeWidth(5f);
    mPaint.setStyle(Paint.Style.STROKE_STYLE);
    //添加绘制任务
    addDrawTask(this::onDraw);
    //设置TouchEvent监听
    setTouchEventListener(this::onTouchEvent);
  }

  @Override
  public void onDraw(Component component, Canvas canvas) {
    canvas.drawPath(mPath, mPaint);
  }


  @Override
  public boolean onTouchEvent(Component component, TouchEvent touchEvent) {
    switch (touchEvent.getAction()) {
      case TouchEvent.PRIMARY_POINT_DOWN: {
        //鸿蒙Log工具
        HiLog.debug(new HiLogLabel(0, 0, TAG), "TouchEvent.PRIMARY_POINT_DOWN");
        //获取点信息
        MmiPoint point = touchEvent.getPointerPosition(touchEvent.getIndex());
        mPath.reset();
        mPath.moveTo(point.getX(), point.getY());
        mPrePoint.position[0] = point.getX();
        mPrePoint.position[1] = point.getY();
        mPreCtrlPoint.position[0] = point.getX();
        mPreCtrlPoint.position[1] = point.getY();
        //PRIMARY_POINT_DOWN 一定要返回true
        return true;
      }
      case TouchEvent.PRIMARY_POINT_UP:

        break;
      case TouchEvent.POINT_MOVE: {
        HiLog.debug(new HiLogLabel(0, 0, TAG), "TouchEvent.POINT_MOVE");
        MmiPoint point = touchEvent.getPointerPosition(touchEvent.getIndex());
        Point currCtrlPoint = new Point((point.getX() + mPrePoint.position[0]) / 2,
            (point.getY() + mPrePoint.position[1]) / 2);
        //绘制三阶贝塞尔曲线
        mPath.cubicTo(mPrePoint, mPreCtrlPoint, currCtrlPoint);
        mPreCtrlPoint.position[0] = currCtrlPoint.position[0];
        mPreCtrlPoint.position[1] = currCtrlPoint.position[1];
        mPrePoint.position[0] = point.getX();
        mPrePoint.position[1] = point.getY();
        //更新显示
        invalidate();
        break;
      }

    }
    return false;
  }
}
MainAbilitySlice
package com.quqx.draw.slice;

import com.quqx.draw.DrawComponment;
import ohos.aafwk.ability.AbilitySlice;
import ohos.aafwk.content.Intent;

import ohos.agp.components.DirectionalLayout;
import ohos.agp.components.DirectionalLayout.LayoutConfig;
import ohos.agp.components.Text;
import ohos.agp.colors.RgbColor;
import ohos.agp.components.element.ShapeElement;
import ohos.agp.utils.Color;
import ohos.agp.utils.TextAlignment;

public class MainAbilitySlice extends AbilitySlice {

  private DirectionalLayout myLayout = new DirectionalLayout(this);

  @Override
  public void onStart(Intent intent) {
    super.onStart(intent);
    LayoutConfig config = new LayoutConfig(LayoutConfig.MATCH_PARENT, LayoutConfig.MATCH_PARENT);
    myLayout.setLayoutConfig(config);

    DrawComponment drawComponment = new DrawComponment(this);
    drawComponment.setLayoutConfig(config);
    ShapeElement element = new ShapeElement();
    element.setRgbColor(new RgbColor(0, 0, 0));
    drawComponment.setBackground(element);
    myLayout.addComponent(drawComponment);

    super.setUIContent(myLayout);
  }

  @Override
  public void onActive() {
    super.onActive();
  }

  @Override
  public void onForeground(Intent intent) {
    super.onForeground(intent);
  }
}
效果
以上就是本文的全部内容,希望对大家的学习有所帮助,也希望大家多多支持好代码网。

